
Gear & Weapons and Karma carry most of your power spike after the story tutorial ends. Gear raises raw stats and set bonuses; Karma slots onto weapons like soul cards and reshapes how each Characters entry hits in combat. This guide covers the 3+2 set rule, reforge and crafting loops, Karma ascension, and which dungeons feed each resource—so you stop burning Materials on the wrong rolls.
If you are still unlocking heroes and daily routes, read our Beginner Guide and Tips first, then return here for endgame tuning.
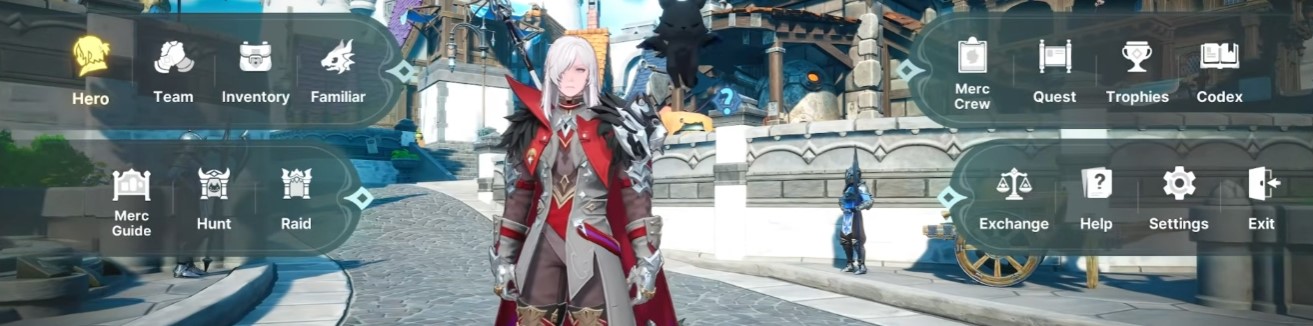
Gear tiers, Karma slots, and reforge loops form the core combat power curve after story unlocks.
Gear System
Gear is the backbone of combat rating. Each piece belongs to a tier with its own level cap and sub-stat pool—higher tiers mean more room to grow.
Set Bonus Strategy — The 3+2 Rule
You have five armor slots. The most efficient layout is 3+2: equip three pieces from one set (activates the 3-piece bonus) and two pieces from another set (activates the 2-piece bonus). That beats forcing five pieces of one set, because this game pays set rewards at three and two—not five.
Browse Gear & Weapons in the database to compare 2-piece and 3-piece bonuses before you craft. Match the mix to your hero's element and Status Ailments role—[Knockdown] breakers want different sub-stats than [Airborne] launchers.
High-tier examples like the Holy Arbiter Set fit 3+2 layouts for light-element Characters running stagger teams.
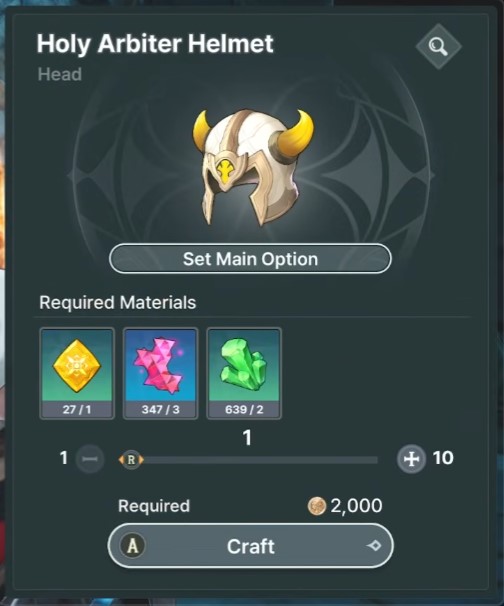
Representative head-slot gear from the Holy Arbiter Set—pair three pieces with a two-piece elemental secondary set.
Reforge (Max-Level Gear)
Once a piece hits its level cap, open Reforge to reroll unwanted sub-stats.
Use Lock on lines you want to keep—frost damage, crit rate, ailment bonus, and so on—then reroll the rest. Each locked line raises gold cost, so lock only what is truly worth keeping.
Crafting at the Blacksmith
High-star gear is forged at blacksmith Modan using farmed Materials.
Forging Molds let you pick the main stat at craft time (Attack, Crit, Defense, etc.) instead of rolling blind. Always confirm your main stat before finalizing—same rule as the chest and leg priority in our beginner crafting section.
Runes
Runes drop from team Raid content. Stack duplicates of the same Raid Rune to synthesize into a higher-tier version with stronger stats. Treat runes as a long-term raid chase, not a day-one goal.
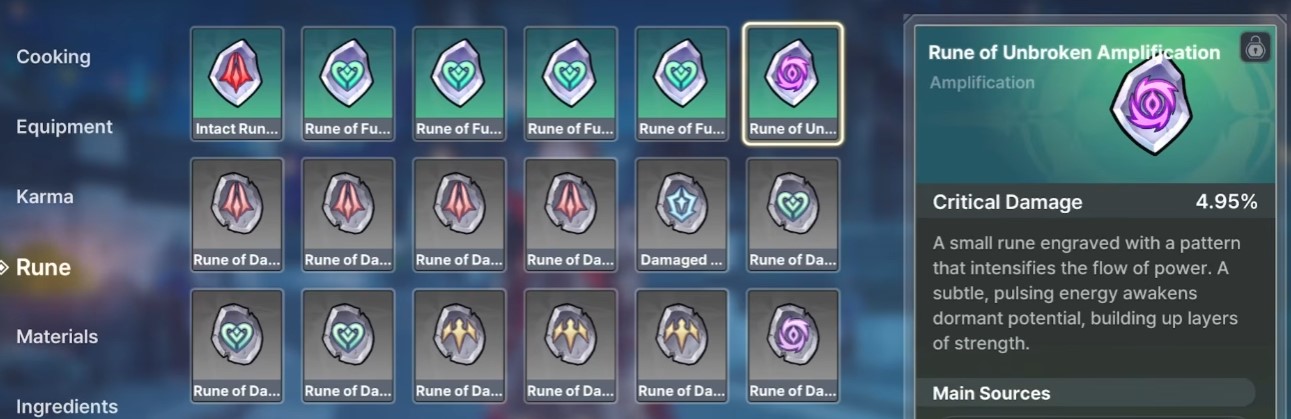
Duplicate runes feed synthesis—socket the finished tier onto gear for extra combat stats.
Karma System
Karma installs directly on weapons and behaves like a power card: base stats plus special effects that can redefine a kit.
Element Matching — Non-Negotiable
Karma cards carry an element. The card must match the hero's element or you lose the bonus lines entirely. Frost heroes like Reina need frost Karma; bleed or physical cards on her weapon will not apply their full effect.
Check each Characters entry before you ascend a card—you are committing duplicate pulls to one slot.
Karma Ascension
Feed duplicate copies of the same Karma card to ascend it. The ceiling is Rank VI, which requires five duplicates total. Each rank spikes the special effect—extra crit, ailment damage, or skill-specific modifiers.
World Bosses and element-matched farming routes are the safest way to stack duplicates without wasting currency on off-element RNG.
Exclusive Karma
Exclusive Karma is hero-specific. Beyond raw stats, it buffs signature skills—sometimes changing animation or burst windows. These are best-in-slot for dedicated mains.
Materials come from Transmute at witch Shanoa: convert shards and drops into the exclusive piece you need instead of gambling on random pulls.
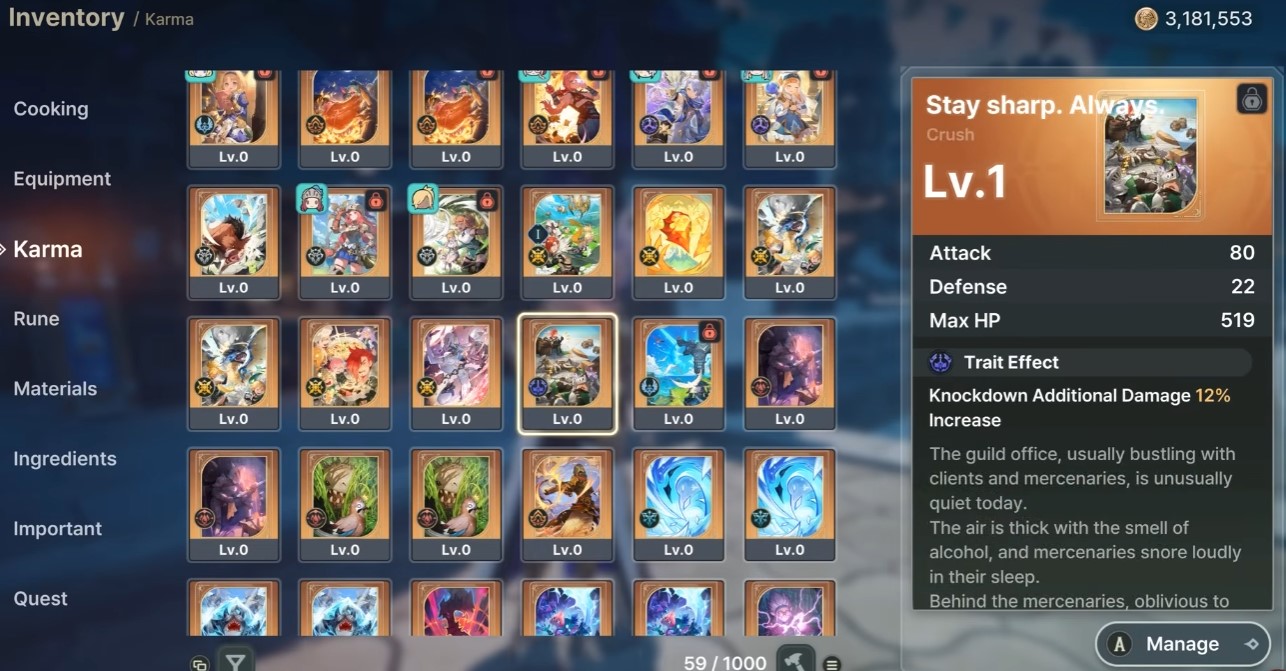
Exclusive Karma and duplicates feed ascension—dismantle off-element pulls for redirect currency.
Dungeons, Raids & Resource Routes
Normal Dungeons & the Merc Guide
Story and normal dungeons drop themed armor sets. Open the Merc Guide (Mercenary Handbook) to see which map feeds which set before you grind the wrong zone.
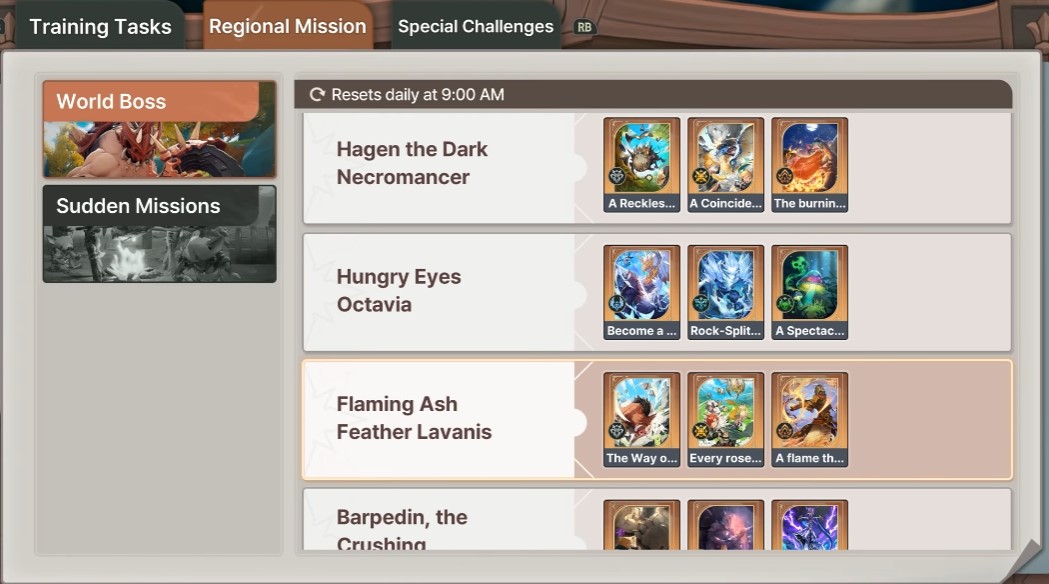
Regional missions and the Merc Guide point you to the right set farm without wasted runs.
Currency Dungeons
Dedicated currency stages unlock as main story chapters progress:
* Ore — required for gear upgrades; pair open-world mining with ore dungeons for steady income. * EXP books & Karma upgrade mats — later chapters unlock higher-yield versions; push story first, then loop the newest unlock.
Trait Dungeons
Trait Stones drop here. You need them for high-tier gear breakthroughs and advanced forging at Modan.
Tower of Trials
Unlock by taking the world quest from Ceresse. Each floor recommends a control archetype—[Knockdown], [Airborne], or stagger-focused teams—so you cannot brute-force every level with one trio.
The key chase items are Whirling Thoughts and Fragment of Afterimage—synthesis Materials for exclusive Karma. The tower is the Spiral-Abyss equivalent: difficult, but mandatory for late exclusive builds.
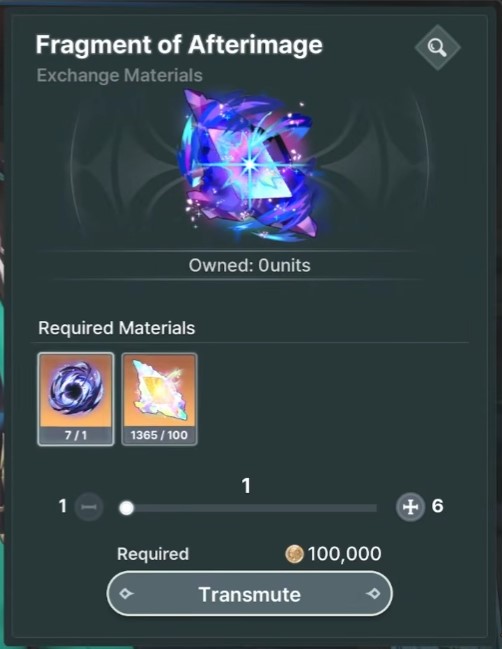
Farm Fragments of Afterimage in the Tower of Trials, then transmute at Shanoa for exclusive Karma routes.
Transmute at Shanoa
At witch Shanoa, convert lower Materials—ore, trait stones, Fragments of Afterimage, and similar drops—into higher tiers. Use this to finish crafts without over-farming low-level nodes.
Advanced Tips
Use the Merc Guide first. If you are missing a stat line or set piece, confirm the drop table before spending resin-like stamina on the wrong dungeon.
Mine and dismantle. Forging burns ore and side Materials. Mine nodes in the open world and dismantle junk gear for Red Ember Stone and other rare crafting fuels instead of letting blues pile up unused.
Do not sleep on Tower of Trials. Even if a floor feels out of reach, push as far as your current Gear & Weapons and Karma allow—Fragments of Afterimage and Whirling Thoughts gate the strongest exclusive cards.
Cross-check the database. Filter Gear & Weapons by set bonus, then map your 3+2 plan in the Team Combo Simulator so ailment appliers and trigger heroes still chain [Freeze], [Knockdown], or [Airborne] after you swap stats.
For combat swaps and demo roster priorities, continue with Combat Tips and Tier List after your first 3+2 set is online.