
Twenty levels above you, gear checks that punish sloppy builds, and not a single loot box in sight—that's the shape of DragonSword: Awakening endgame. Hound13 built a full action RPG around earned progression instead of pulls, which means every character, mount, and Master Skill you want sits behind gameplay you can plan for. This guide walks through that arc: unlocking your first roster, understanding the combat underneath the flash, gearing correctly instead of wasting materials, and building toward the level 90 Extreme Difficulty Raid without hitting a wall you didn't see coming.
Overview – Story Progression & Character Unlock
Every story chapter you clear drops tickets. Spend those in the Exchange menu on whichever Characters entry catches your eye—there's no randomness here; you pick who joins your roster.
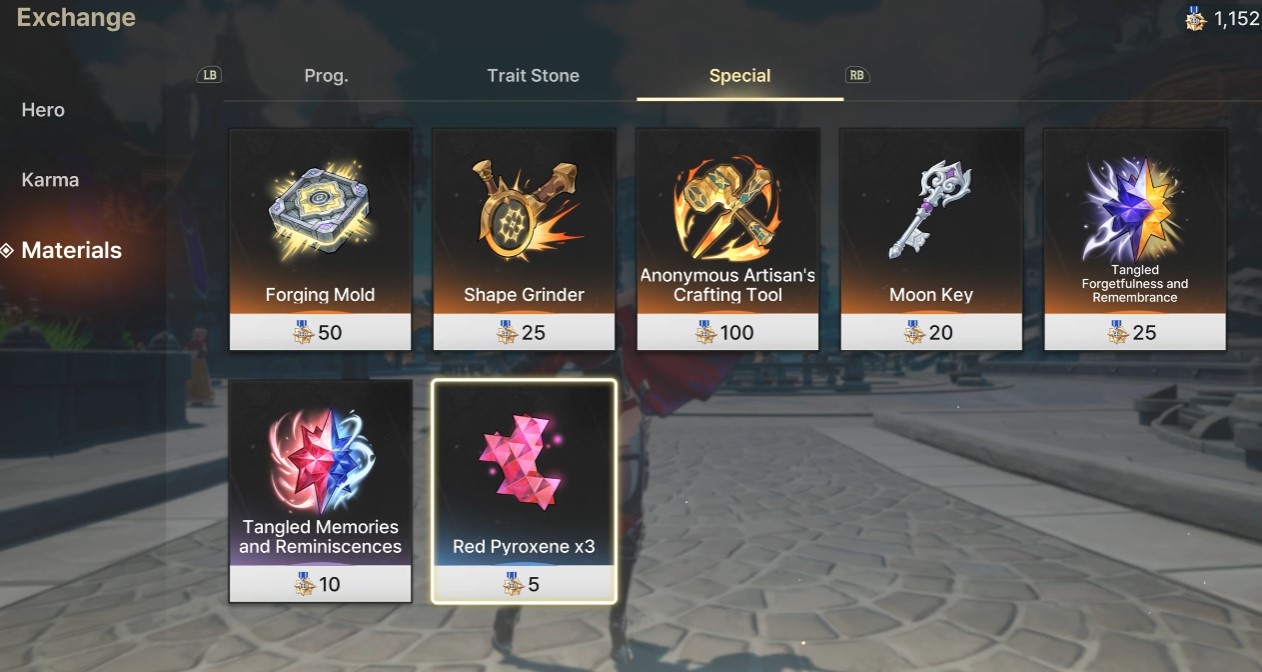
Spend story tickets in the Exchange to pick exactly who joins your roster—no gacha rolls involved.
Want more tickets faster? Run the Hero Quest line for specific heroes like Theresia and Ornette. These quests double-pay: you get the ticket, and you get that character's exclusive Karma piece.
Don't want the Karma you just earned? Dismantle it. You'll get currency back plus an exclusive Karma point, which the Exchange shop lets you trade for any other character's exclusive Karma. Nothing goes to waste if you plan the trade.
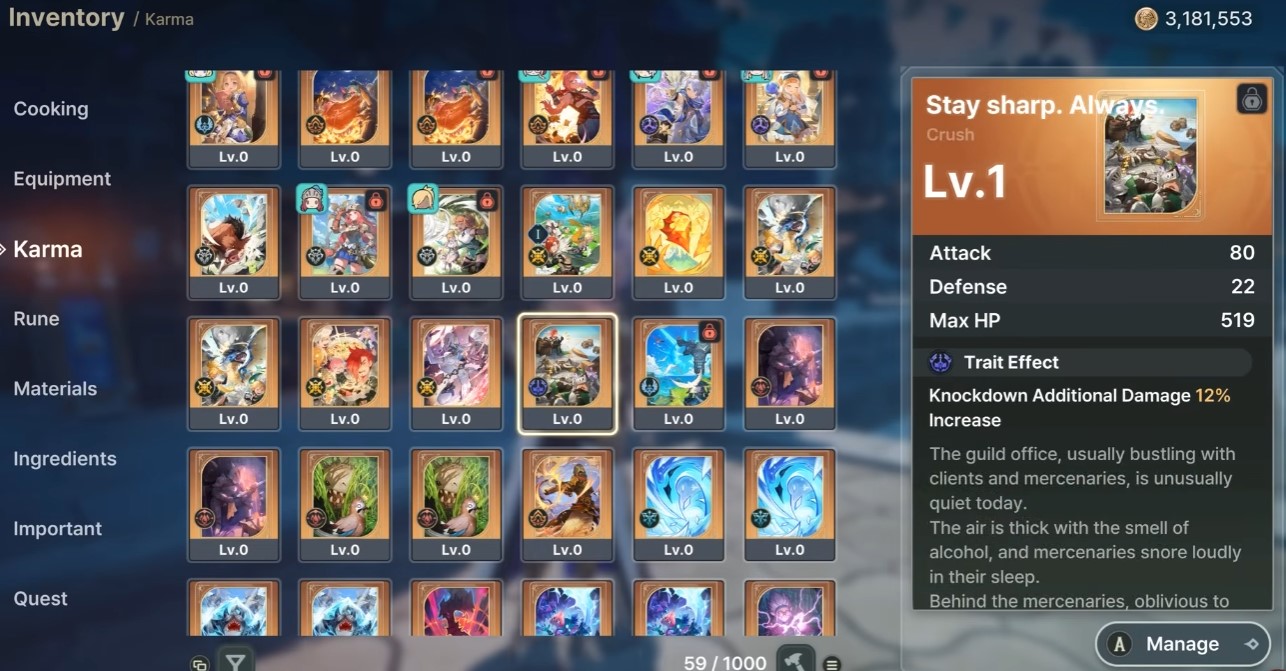
Dismantle unwanted Karma for currency and exclusive points you can redirect toward another hero.
The Steam Next Fest demo already includes eight playable heroes—Alex, Aria, Castella, Lute, Ornette, Reina, Roxy, and Theresia—so you can practice Signal Skill rotations before launch.
Mount System
Mounts unlock through two tracks: mercenary rank progression and story milestones. You don't need to chase the very best one early—that's locked to the story's final stretch, and anything you unlock by chapter 6 handles exploration just fine.
Each mount carries a distinct skill. Here's the part most players miss: unlocking a second variation of a mount you already own grants that mount's second skill to every other mount you have (with a few unique exceptions). That's how air dash spreads across your whole stable.
Two paths get you air dash specifically. The Deluxe Edition's baby dragon has it from the start, letting you dash freely in any direction while gliding. If you didn't buy that edition, hit Novice Mercenary rank to unlock the Bright Crow Tit, which also flies with air dash built in.
Want that skill on everything? Clear 20 mini-games to unlock the Bright Crow Tit's second variation—that's the unlock that shares air dash across your full mount roster.
One more note worth flagging: only a single mount lets you explore underwater, and it comes early if you stay focused on the main story instead of side-tracking.
Combat Breakdown
Strip away the character-specific flair and the toolkit is simple: basic attack, jump basic attack, and dodge attack (dodge input followed by light attack). There's no heavy attack in this game—that's a deliberate design choice, not a missing feature.
What varies wildly is presentation. Every character runs unique animations layered onto that shared skeleton—sprint skills, dodge skills, the works. Castella stands out mechanically too: she's built around [Airborne] pressure and rapid spear chains, making her a hyper-mobile pick for juggle setups.
Cooldowns aren't static. Landing hits on enemies actively shaves time off your skill cooldowns, so aggressive play pays for itself in uptime.
Team synergy shows up mid-fight. When you break an enemy or trigger a specific Status Ailment, you can call in a teammate for a support combo—this is where team composition actually matters in practice, not just on paper. Use our Team Combo Simulator to map who applies [Freeze], [Knockdown], or [Airborne] and who triggers the follow-up Signal Skill.
Watch enemy health bars closely. A white bar underneath means the enemy is staggerable—break poise and they're easy to juggle with [Knockdown]. Enemies flagged with super armor won't give you that opening; trying to force [Airborne] chains on them is a losing bet.
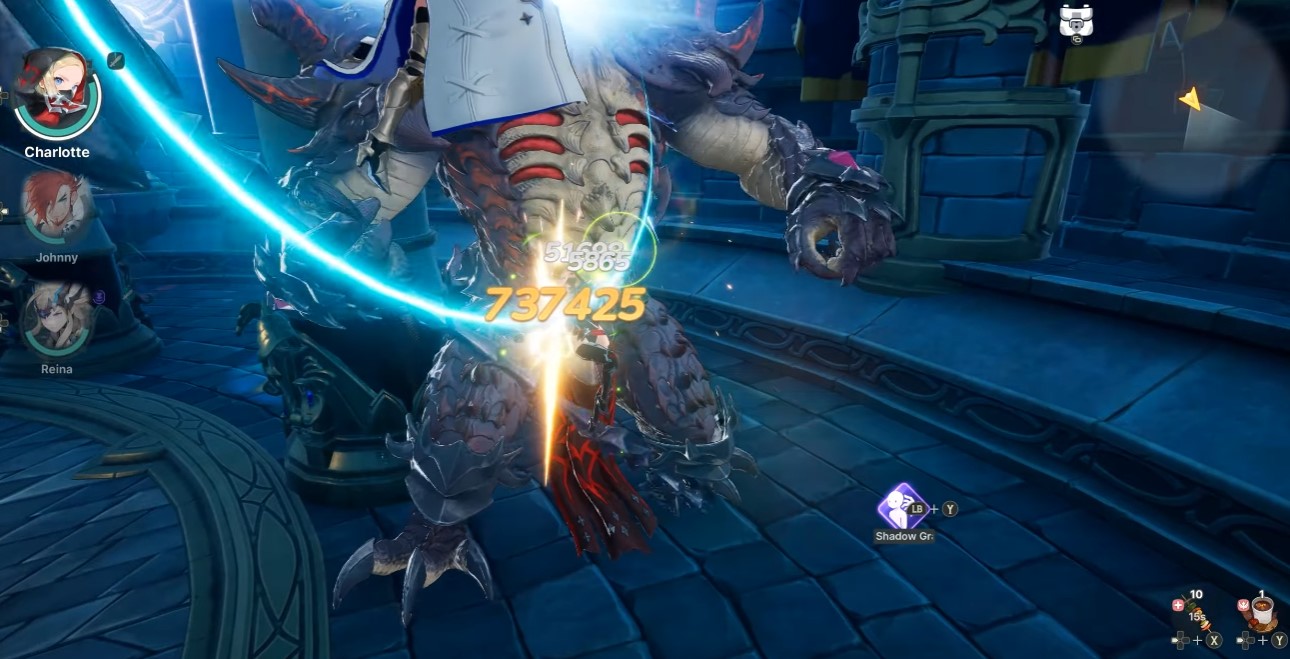
Switching characters mid-combo isn't just for style—it grants brief invincibility frames, lasting until you land the down attack or fire off a Signal Skill. Learn that window and you'll dodge damage that would otherwise catch you mid-swap.
In the demo, Reina blankets an area in frost mist until elites hit [Freeze], then Lute's portrait lights up for Icebreaker Switch—a clean example of the loop you'll reuse in harder content.
Awakening Characters & Master Skills
Awakening dropped its old gadget-system baggage—it's free now, plain and simple. What it unlocks matters: certain skills, plus the Master Skill (Grimroar) sitting at the center of each character's skill tree.
The catch: Master Skill only becomes available once that character hits level 30. No shortcuts around the level gate.
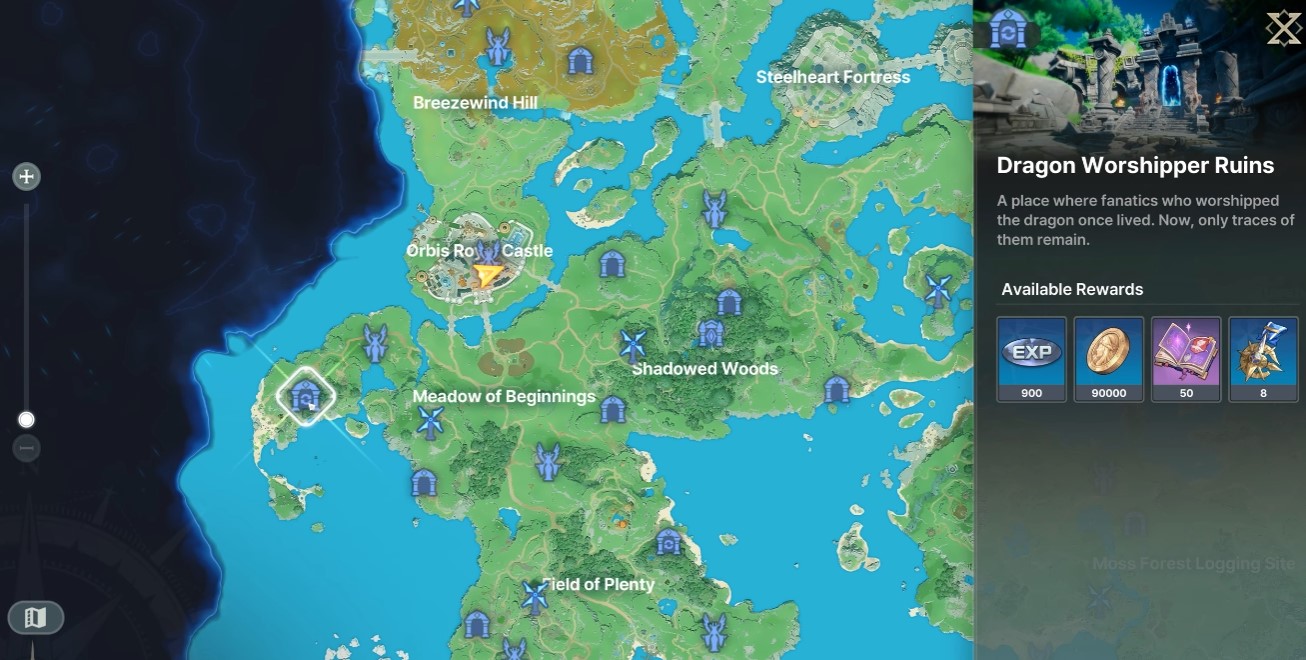
Unlocking it requires treasure maps, and those come from two sources—solving puzzles (pushing crystal walls into place) and opening chests scattered through Orbis. Once you have a map, it marks a location you'll need to physically search: caves, underwater pockets, under bushes. It's a scavenger hunt, but the payoff is real.
Those same chests also drop Awakening Points, either 1 or 2 per pull, which you spend to awaken character skills and open up new move sets. If you're the type who plans ahead, consider banking some points—future DLC characters will want them too.
Recommended Team Compositions
Two builds have proven themselves reliable, and they solve different problems.
Action Team (high skill ceiling): Charlotte, Johnny, Raina. Charlotte is your best DPS option—hyper-mobile, capable of detonating her shadow clone for burst, and the only one with air dash. Johnny and Raina slot in around her with strong synergy. In skilled hands, this team tears through endgame content.
Chill/Ranged Team (easy mode): Sice, Otellio, Dana. Don't underestimate this trio—they're absolute monsters at a much more relaxed pace. Camp, poke with ranged attacks, and let the fight come to you instead of chasing it.
Demo-friendly alternative: Reina, Lute, and Alex mirror the freeze-to-burst loop above—Reina applies [Freeze], Lute answers with Icebreaker Switch, and Alex breaks poise with [Knockdown] follow-ups. Test the rotation in the Team Combo Simulator before you commit materials.
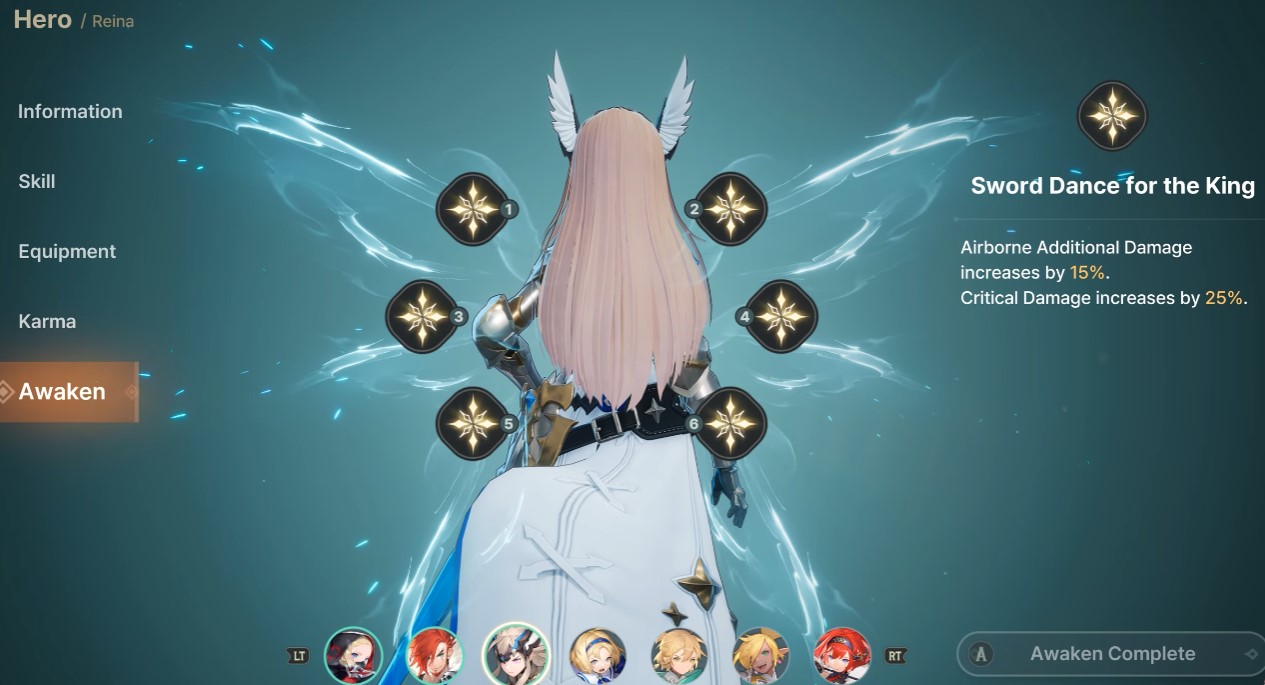
A quick note on Lute, your main character: he's solid, not broken. His standout use is healing, so build your primary trio first and circle back to invest in him once that core team is set.
One hard truth for endgame: you can run whatever formation you like through most of the game, but content like the Tower of Trials demands both Gear & Weapons and synergy. Wacky off-meta teams simply don't clear extreme difficulty—this isn't a place to get creative for creativity's sake.
Gear Crafting, Reforging & Gear Sets
Every character has a tied element—Roxy leans bleed and physical pressure, for example—and your Gear & Weapons choices should track that element closely.
Crafting happens at the blacksmith using farmed Materials. The workflow matters: press square on a gear slot, press square again to select your main stat, then confirm with X. Skip that main-stat selection step and you'll waste materials on a roll you didn't want.
Stat priority by slot: chest piece gives the highest main-stat value of anything you'll craft (crit damage on chest, for instance, hits hardest), with legs coming in as the second-strongest slot.
Reforging is where you gamble on sub-stats using materials. Stack sub-stats that match your character's element—airborne additional damage for an air-element character, and so on. This is the fine-tuning layer after your main stats are locked in.
Gear sets have a quirk worth knowing before you commit materials: you only get set bonuses at 3 pieces, not 5. That opens up mixing—3 venomous plus 2 stun for stun additional damage, or 3 venomous plus 2 airborne for airborne damage. Experiment here; there's no single correct mix, just what fits your character's kit.
Exclusive weapons like the Frost-Core Magitech Pistol (tied to Reina) show how character-specific Gear & Weapons can amplify [Freeze] setups—check the database entry before you craft duplicates.
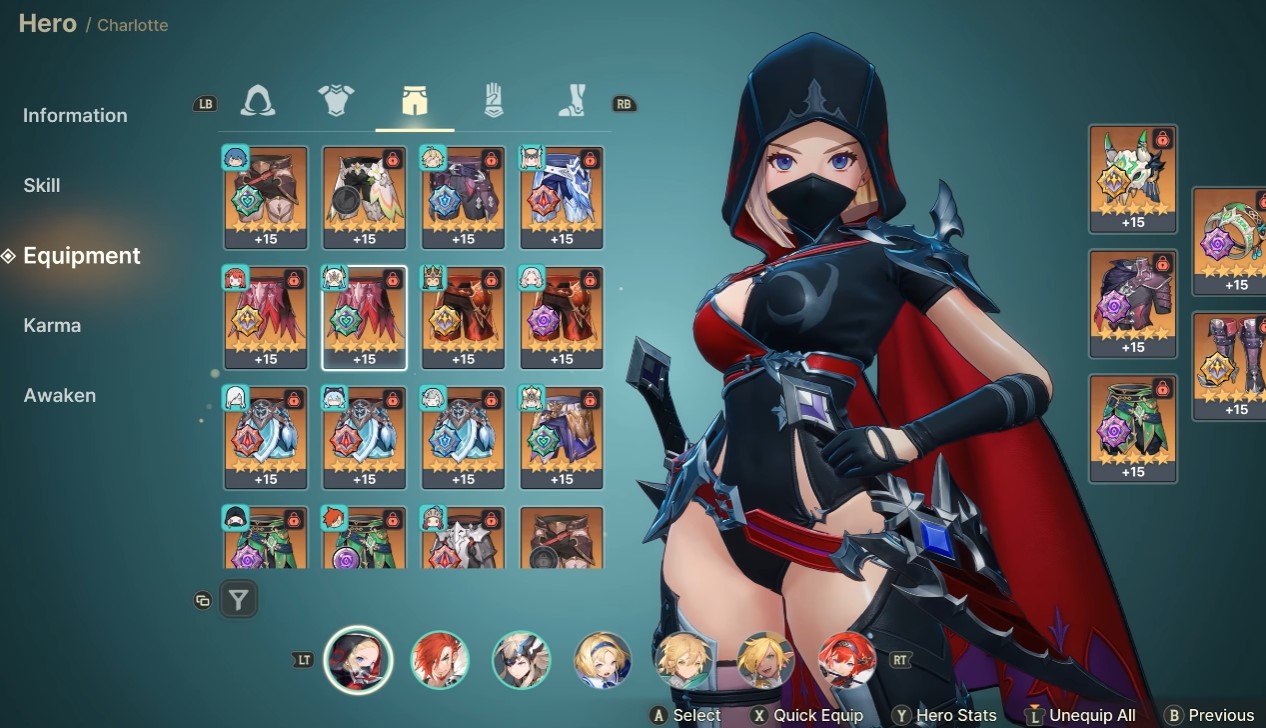
Select your main stat before confirming crafts—chest and legs offer the highest main-stat values.
Farming, Daily Activities & Currencies
Early game, gold and material farming boils down to knowing where to go. Orbis City's bottom-left corner is your spot for gear upgrade materials, with separate zones handling character XP and Karma farming.
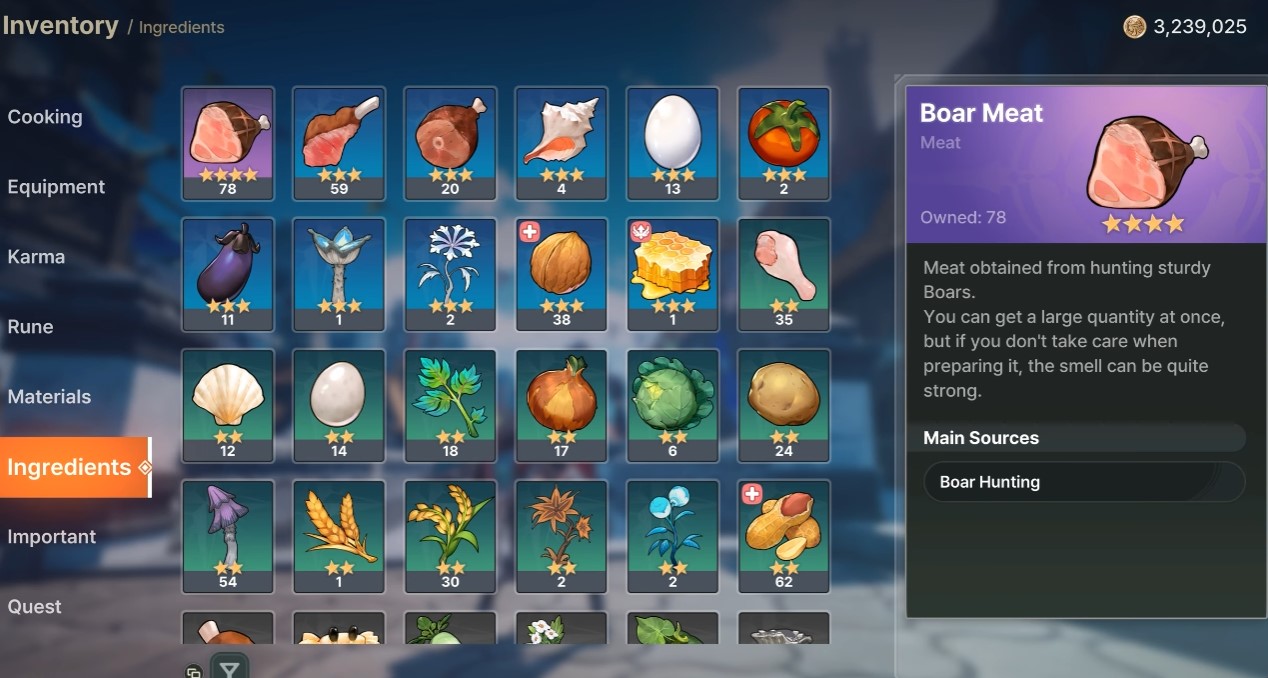
Orbis City's lower-left district clusters gear mats, XP routes, and Karma farming in one loop-friendly area.
Fragment of Sacred Light comes from chests and mini-bosses while exploring. Those mini-bosses refresh daily at 9:00 AM in your local time zone—worth building into a routine. Spend this currency on skill scrolls (pushing skills to level 10) and Forging Molds, which let you choose main stats on endgame gear.
Medals drop from clearing missions and cover almost every material in the game, skill scrolls included—the exception being the rarest late-endgame materials, which need dedicated farming.
World Bosses live under Merc > Regional Bosses > World Boss. Beating them drops basic Karma, though it's RNG-gated. Pick the boss whose Karma drop matches your character's element—that's the efficient play, since it saves your points for other purchases instead of gambling on off-element drops. In our database, the Ruination Dragon in the Orbis caldera is the benchmark world-boss entry for co-op poise breaks and [Freeze] crash windows.
Moon Keys come from exploration, quests, and story beats. You can also trade Adventure Emblems for them under Materials > Special. Spend Moon Keys on blue and purple chests marked with a golden aura—those are worth the detour.
If you only have time for a short daily loop, prioritize regional bosses, Fragment of Sacred Light activities, and World Bosses. That trio covers your core resource needs without demanding a full session.
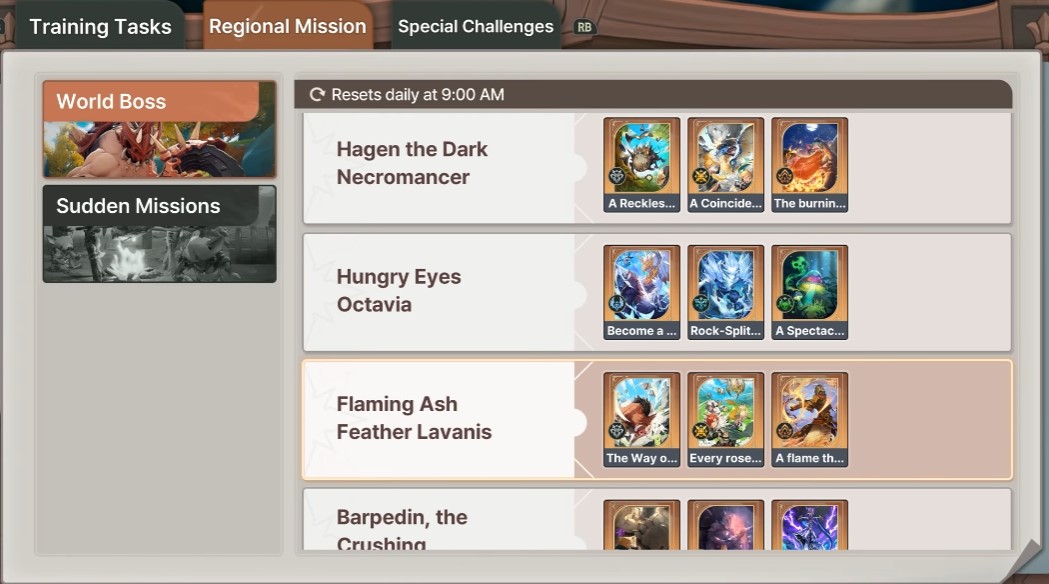
Regional missions, Sacred Light mini-bosses, and World Bosses form a tight daily trio for medals and scrolls.
Endgame Content & Final Verdict
The ceiling here is the Extreme Difficulty Raid—level 90 content, a full 20 levels above where you'll likely be sitting. It demands a well-geared, genuinely synergistic team and real mastery of the combat system covered above. Loose builds and mismatched teams stall out here, full stop.
What makes the climb worth it is the design philosophy underneath: nothing in DragonSword: Awakening is locked behind a gacha pull. Every character, mount, and piece of gear is earnable through play. Hound13 built the entire progression system around effort rather than luck, and made that content free rather than monetized in pieces.
If that approach lands for you—and for anyone tired of drip-fed content behind a paywall, it should—buying the game is the direct way to back that model.
For launch-week prep, read our 6 Essential Facts You Must Know Before Launch guide next, then browse Characters and Status Ailments to plan your first dedicated trio.